In FreeCAD, “texture mapping” refers to the process of applying a 2D image (like a photo of wood grain, a company logo, or a copper plate) onto the surfaces of a 3D object to enhance its visual appearance . It’s a key tool for creating realistic previews of your designed part.
There are two primary ways to approach texture mapping in FreeCAD: a basic, built-in tool for quick visualization and a more advanced workflow for permanent, photorealistic results using external renderers but in this article I am going to show simple method to do it.
Also Read-:
- FCViewer-: Easiest Way to Showcase FreeCAD Project
- Model Involute Gear in FreeCAD
- Let’s understand FreeCAD Part Workbench
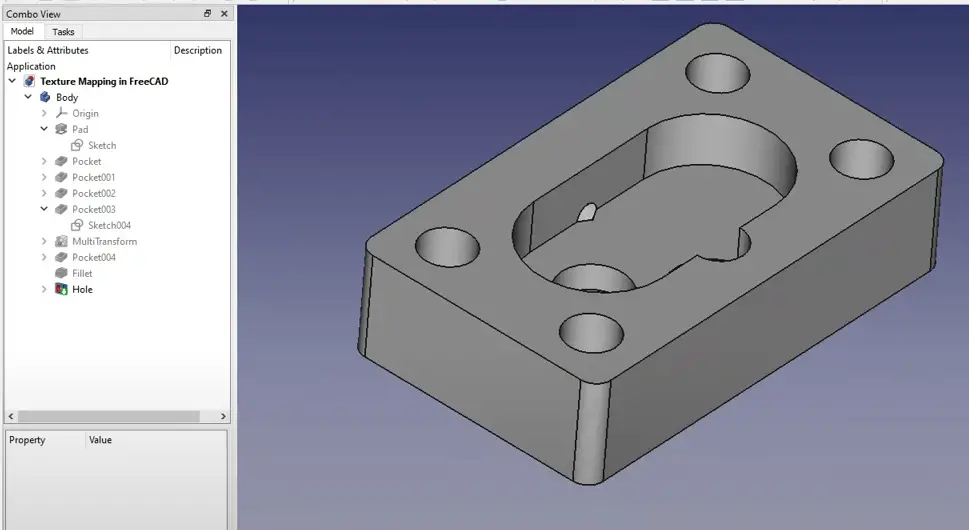
Below is the very simple Pump body part which I have modeled using FreeCAD Part Design Workbench and I want to give it copper color.
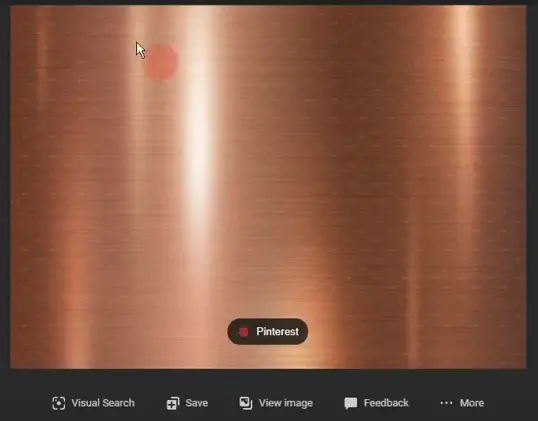
I have search over the internet and saved my copper texture image file. As shown in below image.
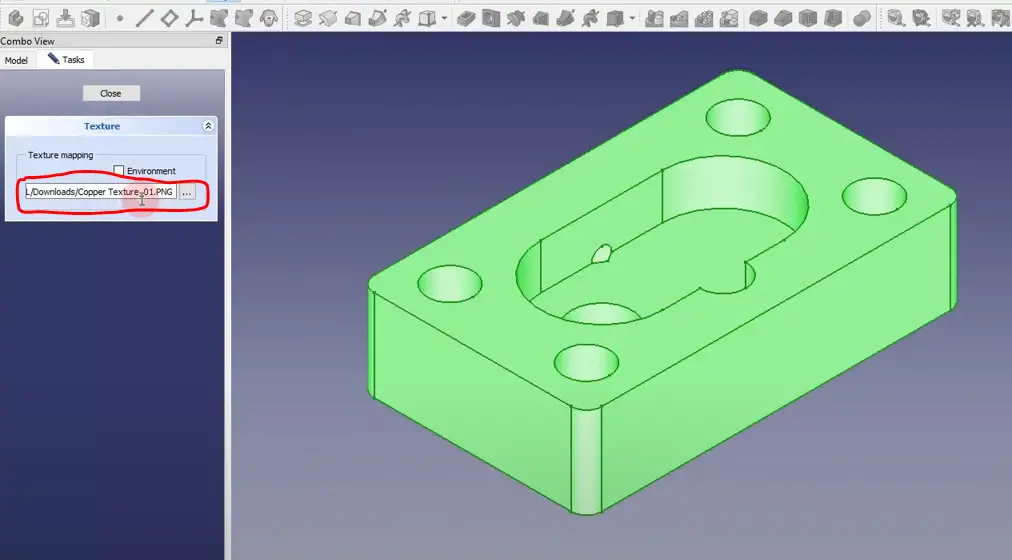
Once you have saved your texture image select the active body then go to View option and then select texture mapping as shown in below image.

In next step click on three dots and give the path of the saved image image file and click on the environment.
Once you did that texture will be applied to part as shown in below image.
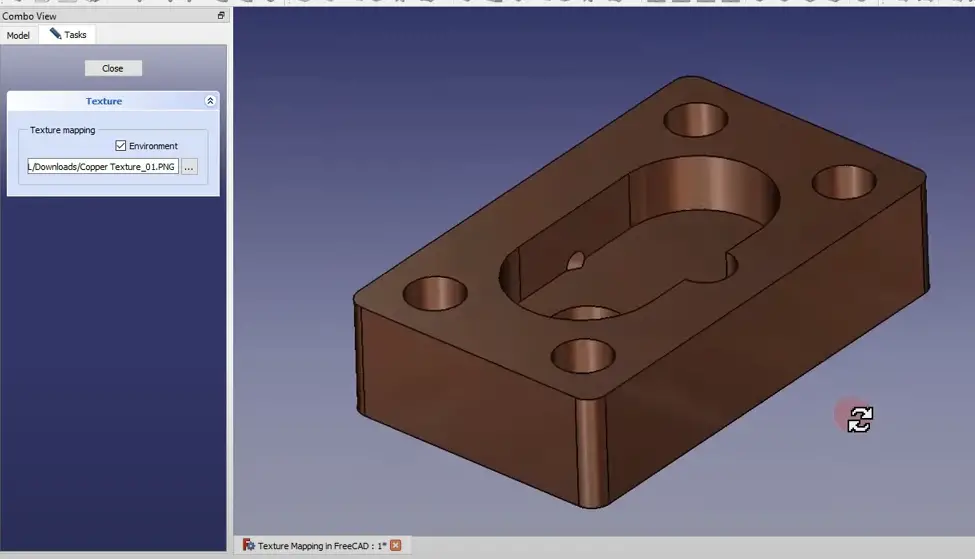
If you want to try some other texture to your part just go to the task and give the path of your new image texture file. the downside of this tool is once you close it you will lost your texture but still this is good tool to capture image of your applied texture.
💡 Important Considerations for Texture Mapping-:
When using this feature, there are a couple of key points to keep in mind:
-
Temporary Application: A known limitation of this specific tool is that the texture is for visualization only and is not saved with the FreeCAD file. Once you close the FreeCAD document or the Texture Mapping dialog, the texture will be lost. Its primary function is to let you quickly capture an image of your model with the applied texture.
-
Exploring Permanent Solutions: For permanent and more realistic material appearances, FreeCAD offers other powerful workbenches. The Render workbench, used with external rendering engines like Pov-Ray or Blender’s Cycles, allows you to assign materials with textures that are saved with your project and can produce high-quality images.
“Thank you for reading! If you found this article insightful and valuable, consider sharing it with your friends and followers on social media. Your share can help others discover this content too. Let’s spread knowledge together. Your support is greatly appreciated!”