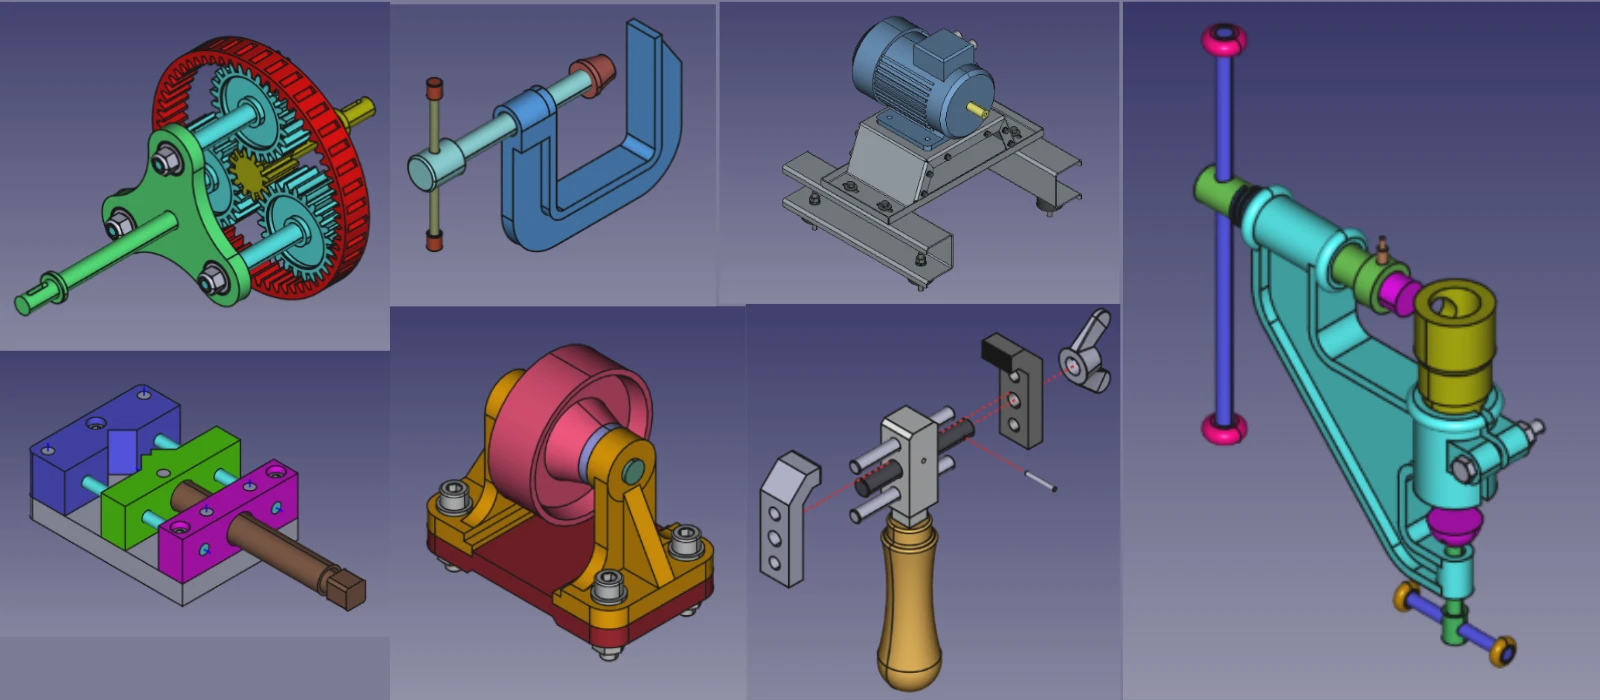
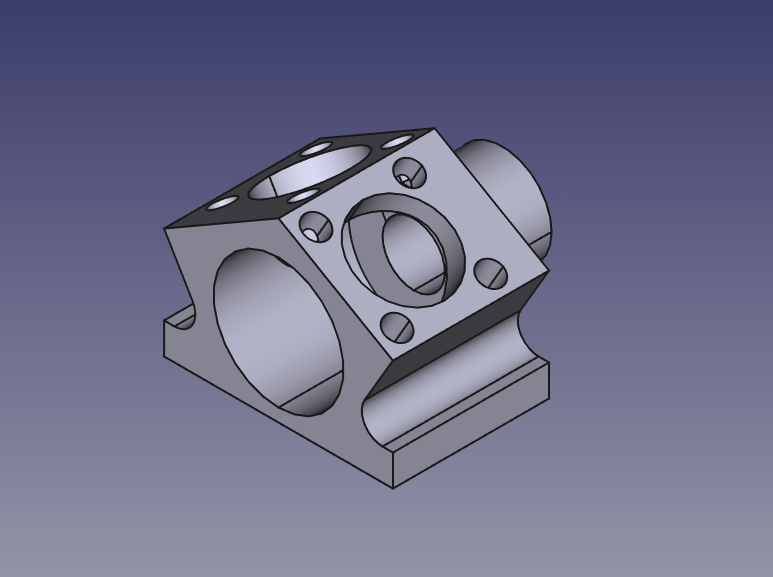
Hello friends welcome to FreeCAD Part Modeling tutorial. In this tutorial we will learn part modeling with the help of Part Design Workbench. If you want to learn FreeCAD from scratch you can buy my Complete FreeCAD Course : From Zero to Expert! on Payhip. You can download this tutorial FreeCAD model with my FreeCAD 3D Model Library with Serial No.245 As shown in below image.
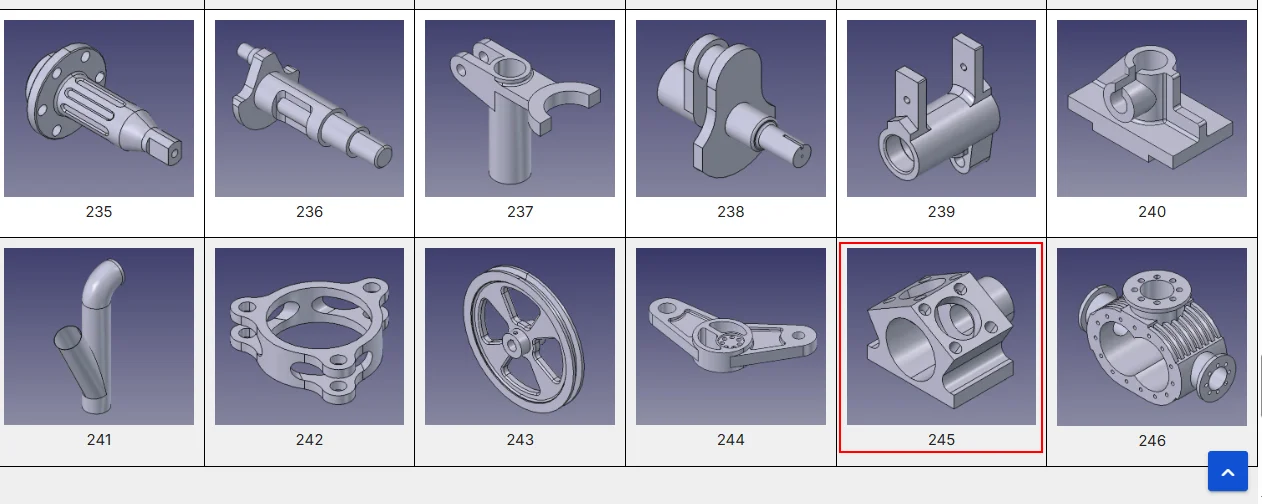
once you click on image you will directed to Google drive folder where you will get FreeCAD model and it’s 2D Drawing. If you like my work please support me on ko-fi.com even if it’s just enough to Buy me a Coffee every little helps and this will be repaid in full through my sharing of knowledge.
Step by Step Guide to Convert below drawing into 3D Model -:
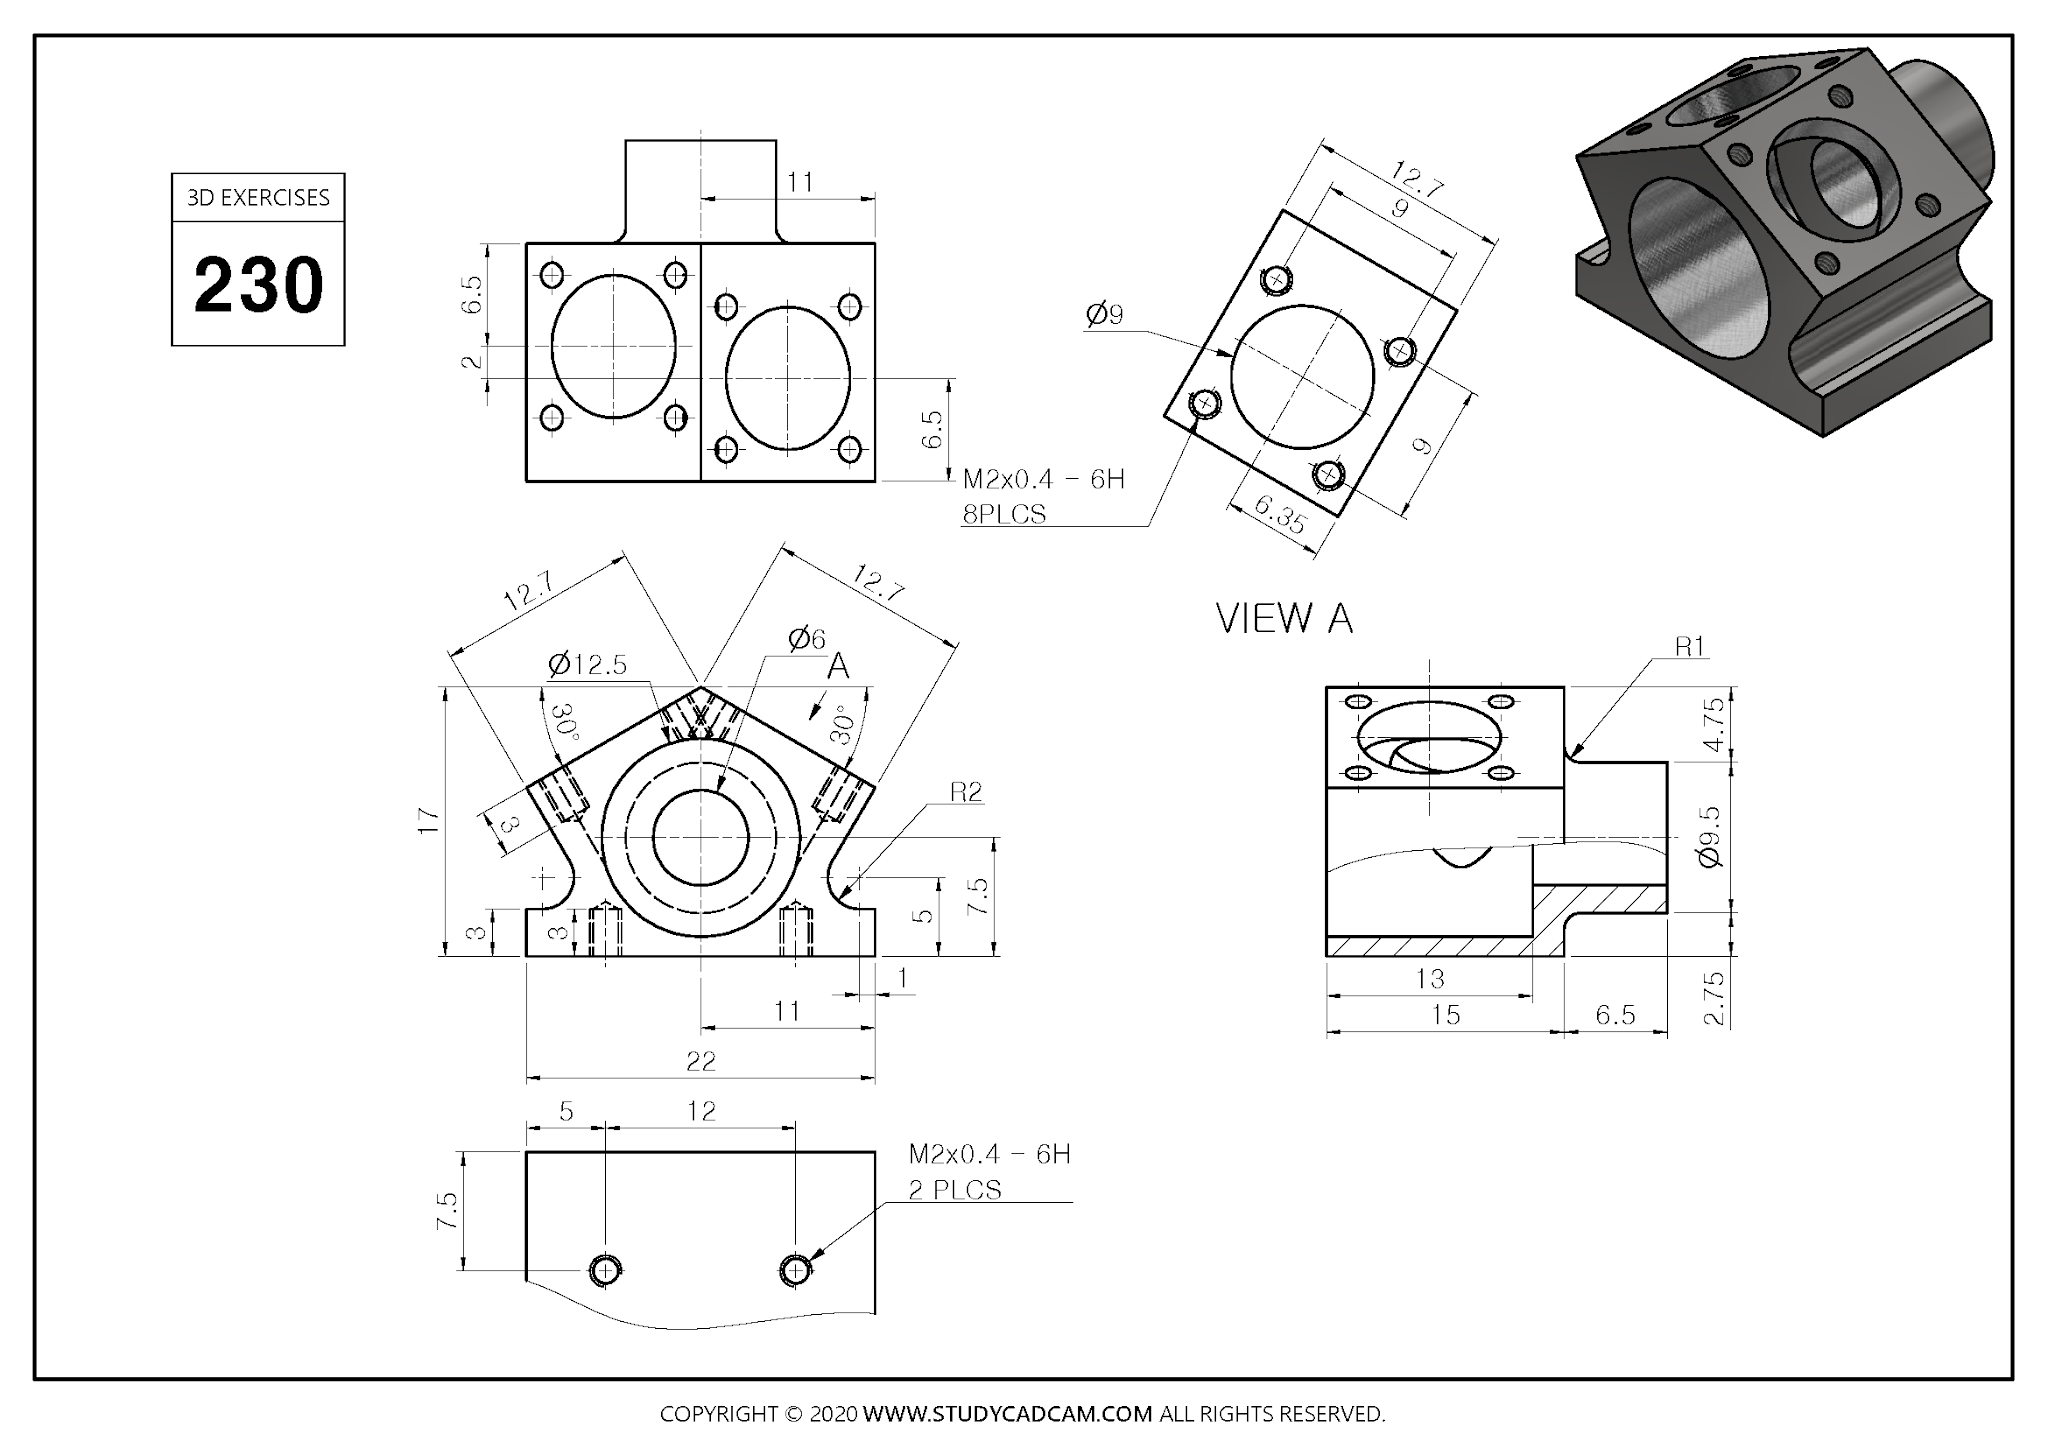
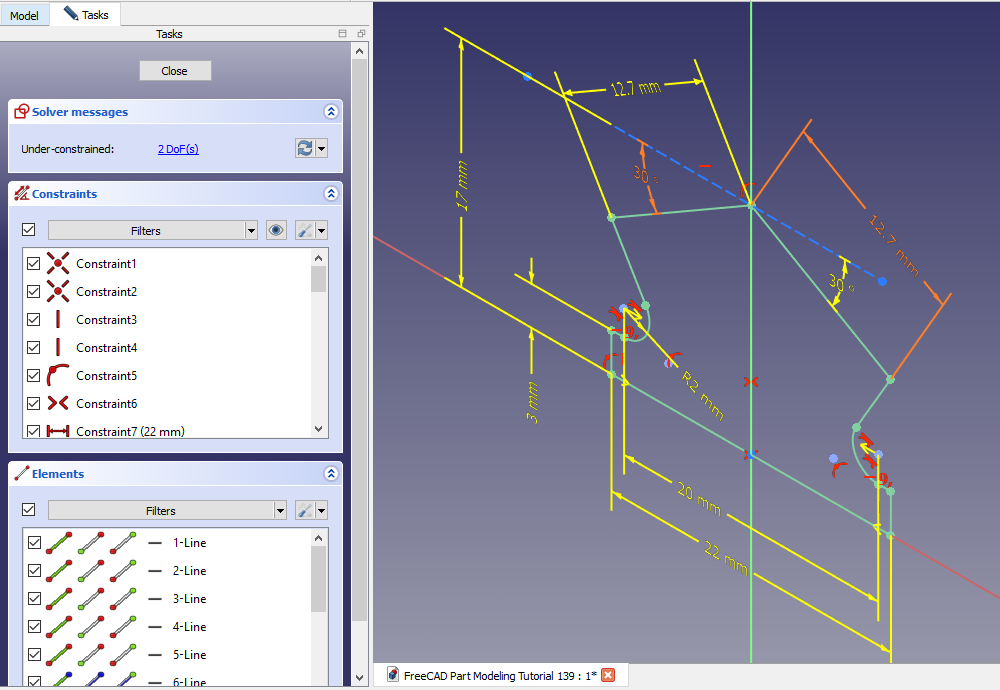
 Select the Front Plane and Create Below sketch As shown in below image.
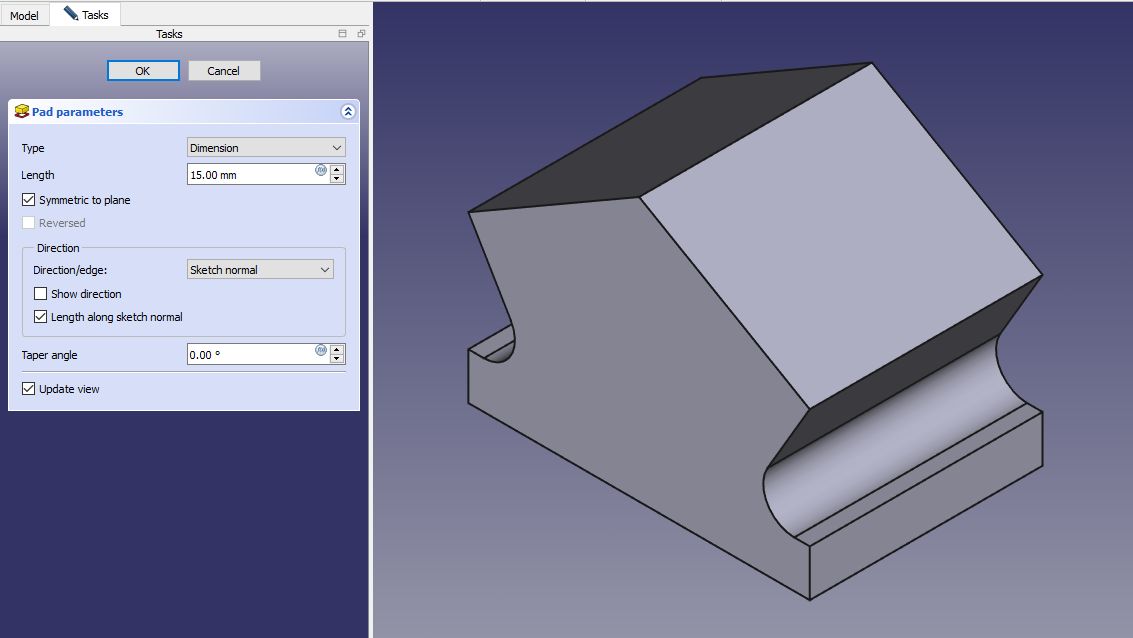
 Create the Pad of 15mm and keep it symmetric to plane As shown in below image.
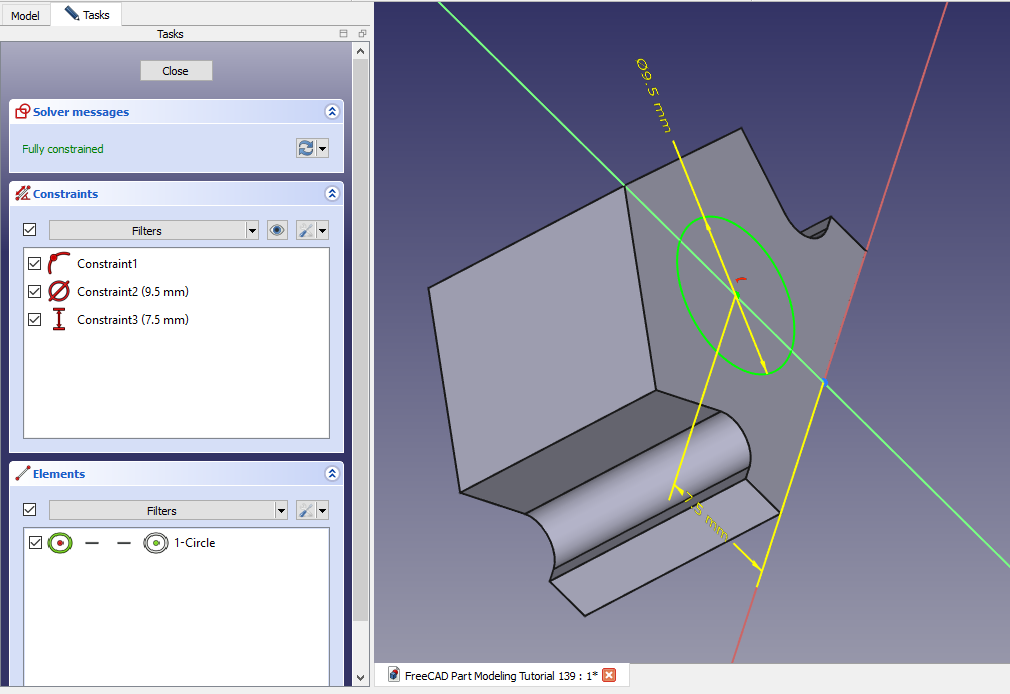
 Now select the back face and create below profile.
 Now create pad of 6.5mm As shown in below image.
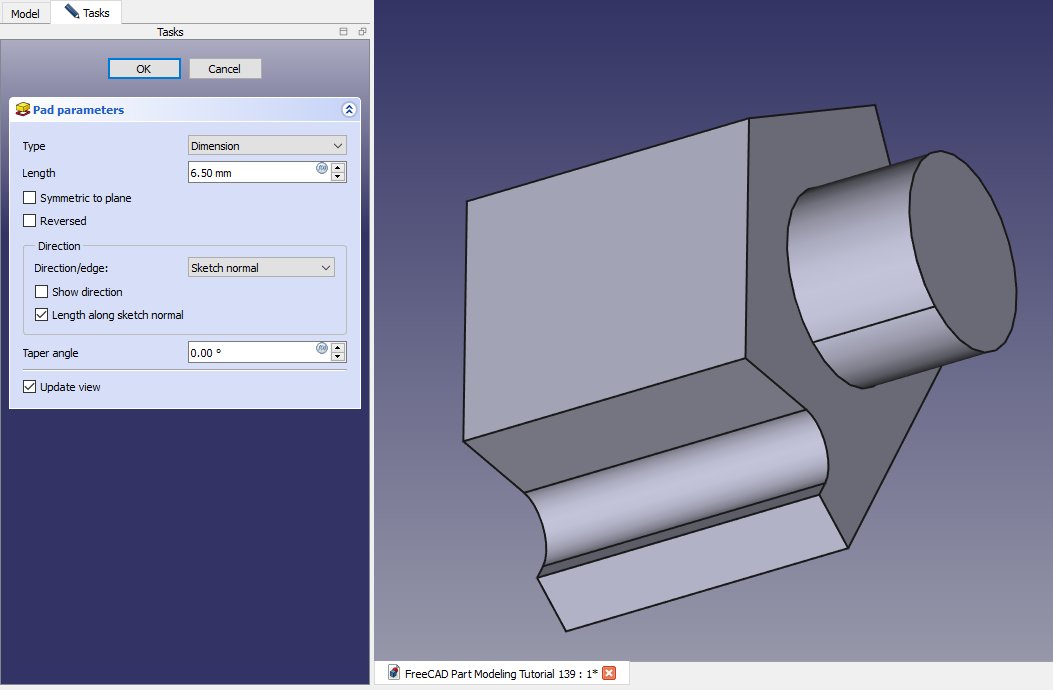 Select the mid plane and create sketch As shown in below image.
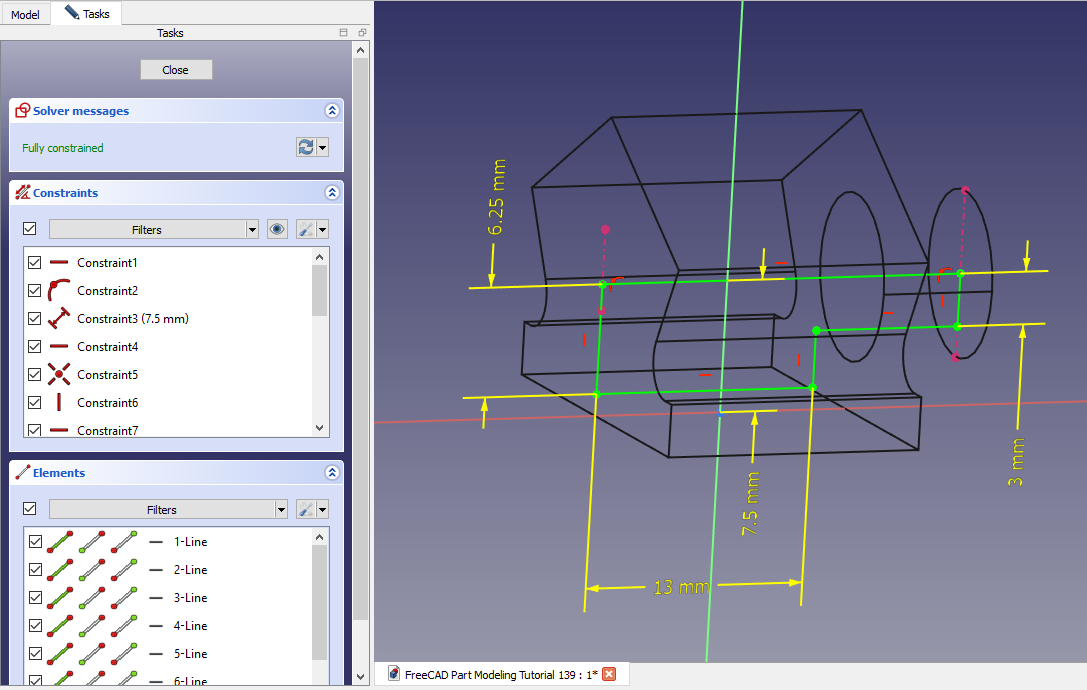 Create the groove as shown in below image.
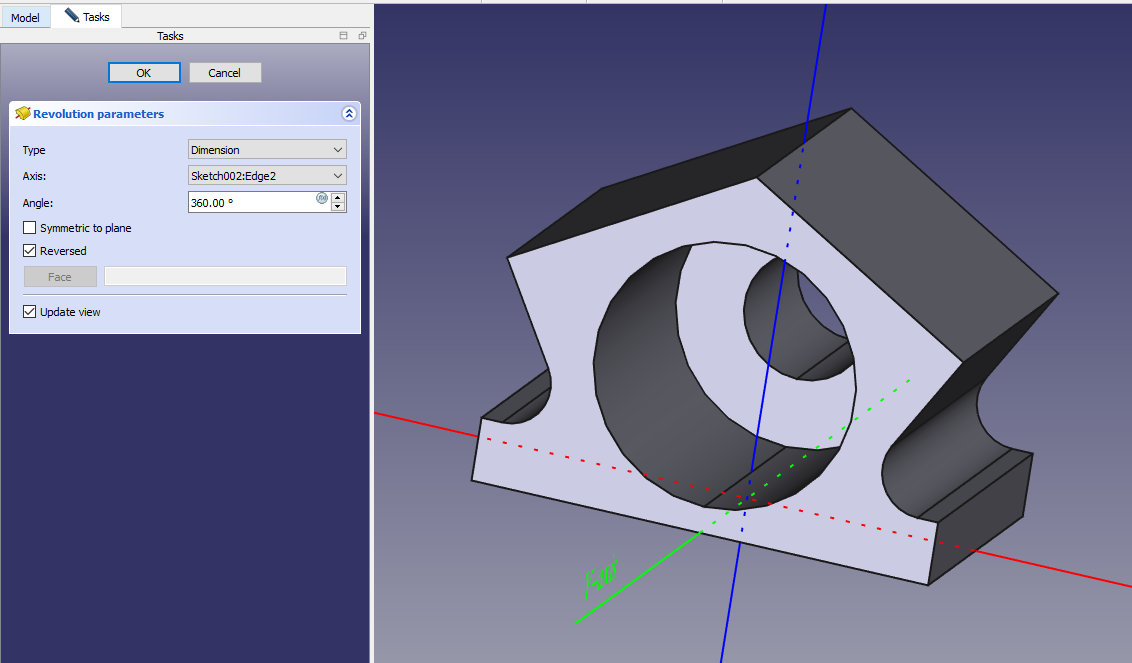 Now select the face and create below sketch.
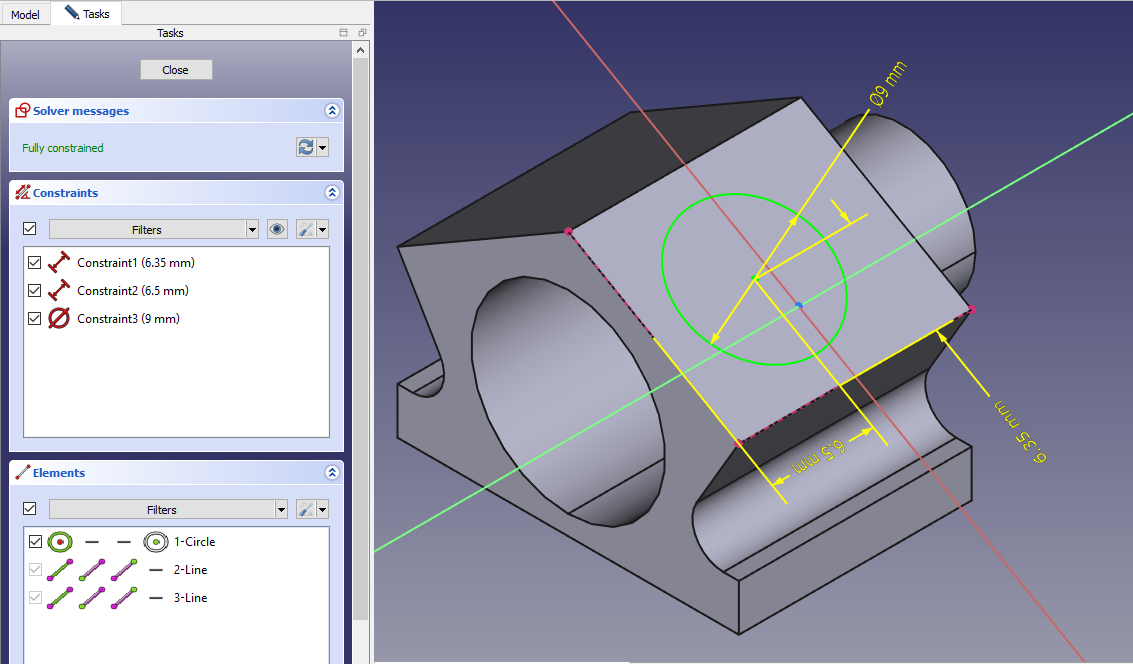 Create the hole As shown in below image and set depth of 8mm.
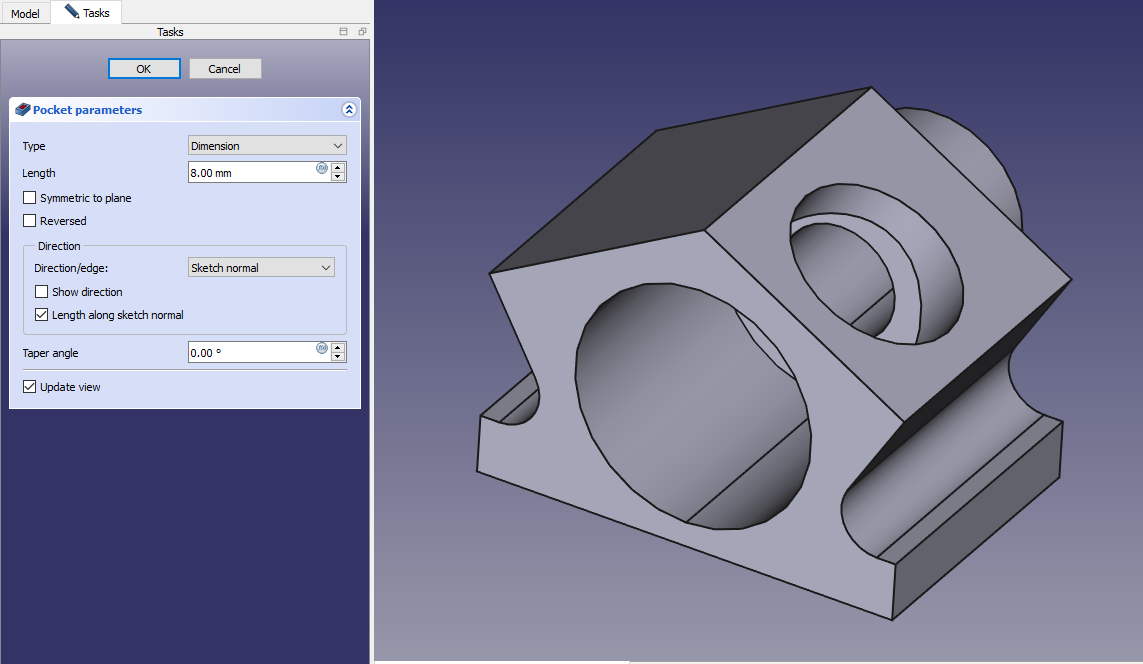 Create the hole sketch As shown in below image.
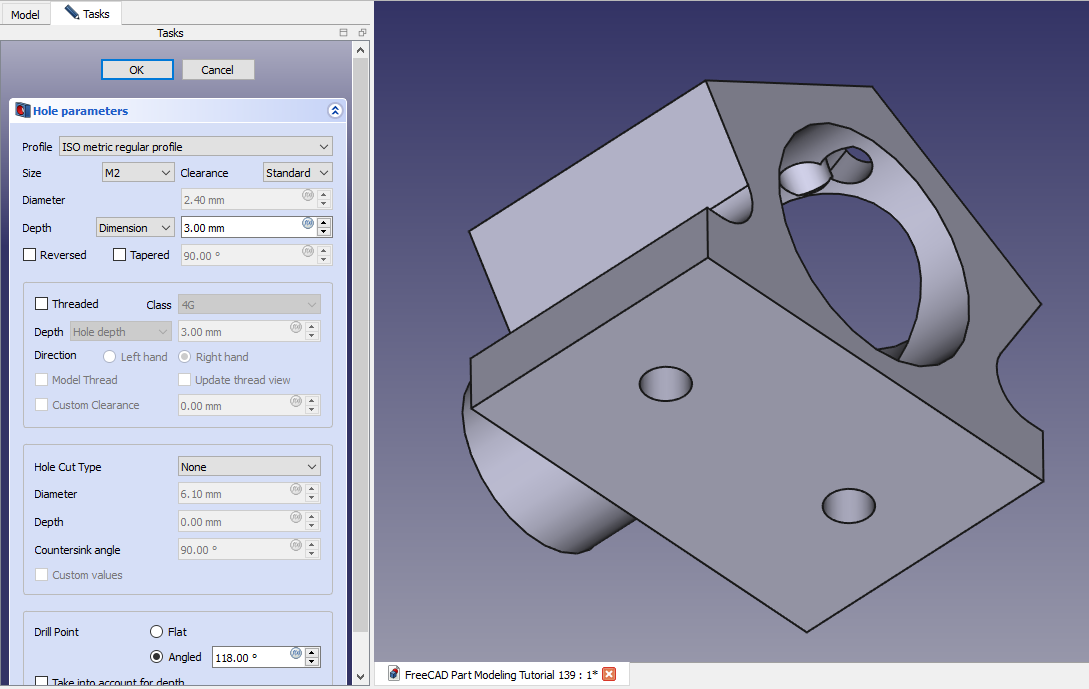
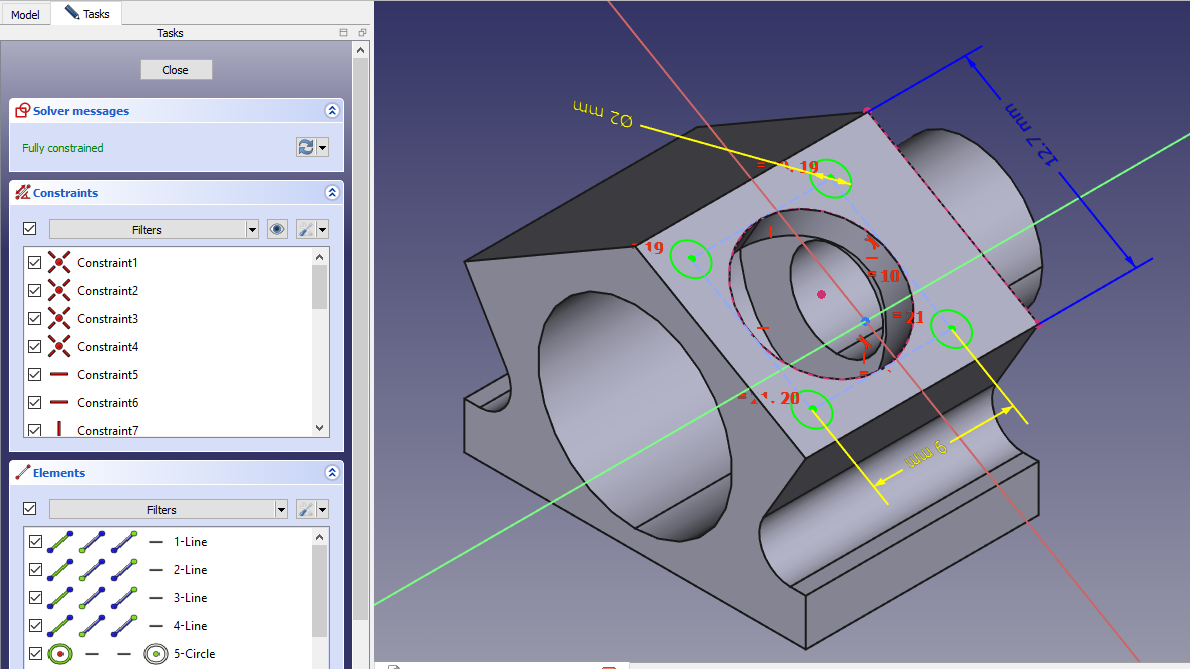 Create the M2 hole as shown in below image.
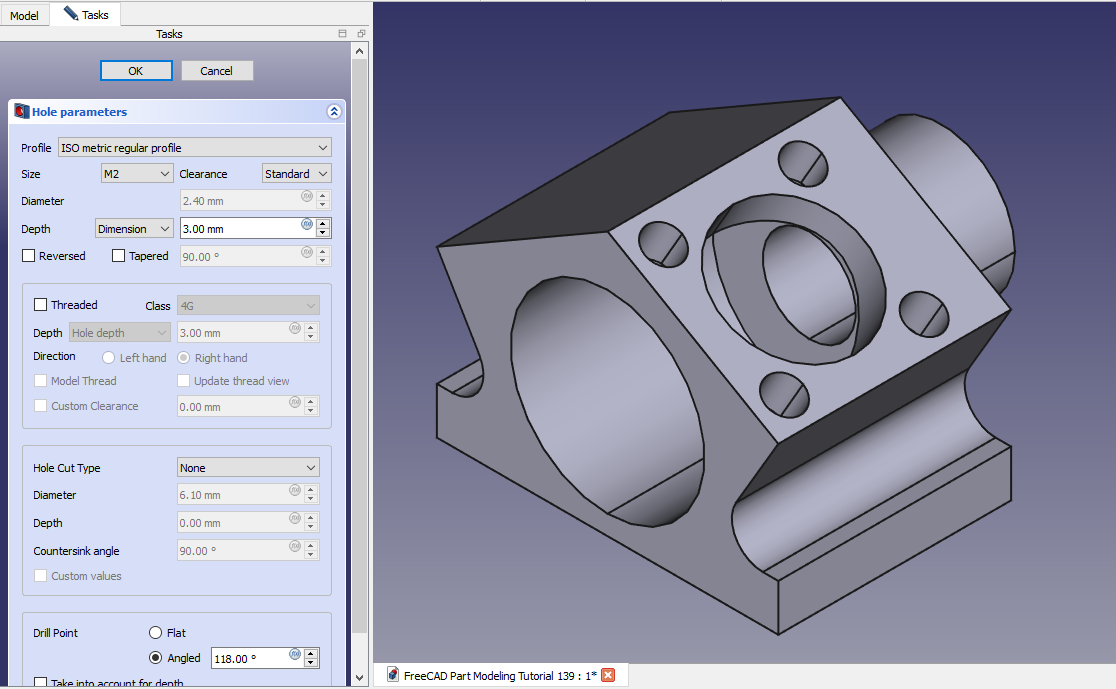 Select the face and create the below sketch.
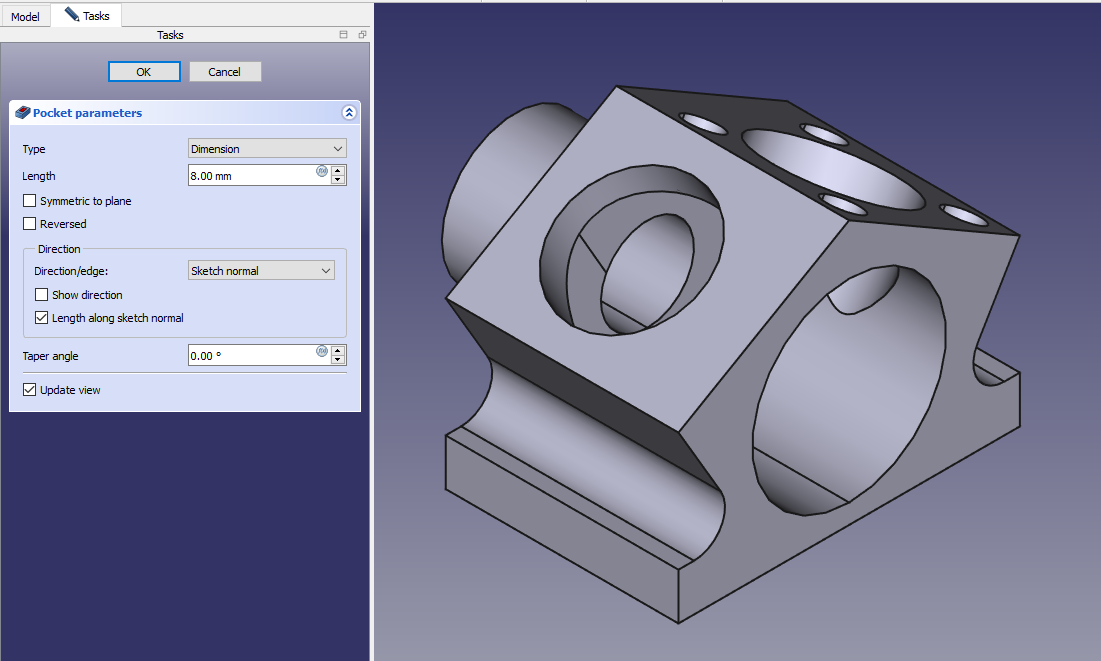
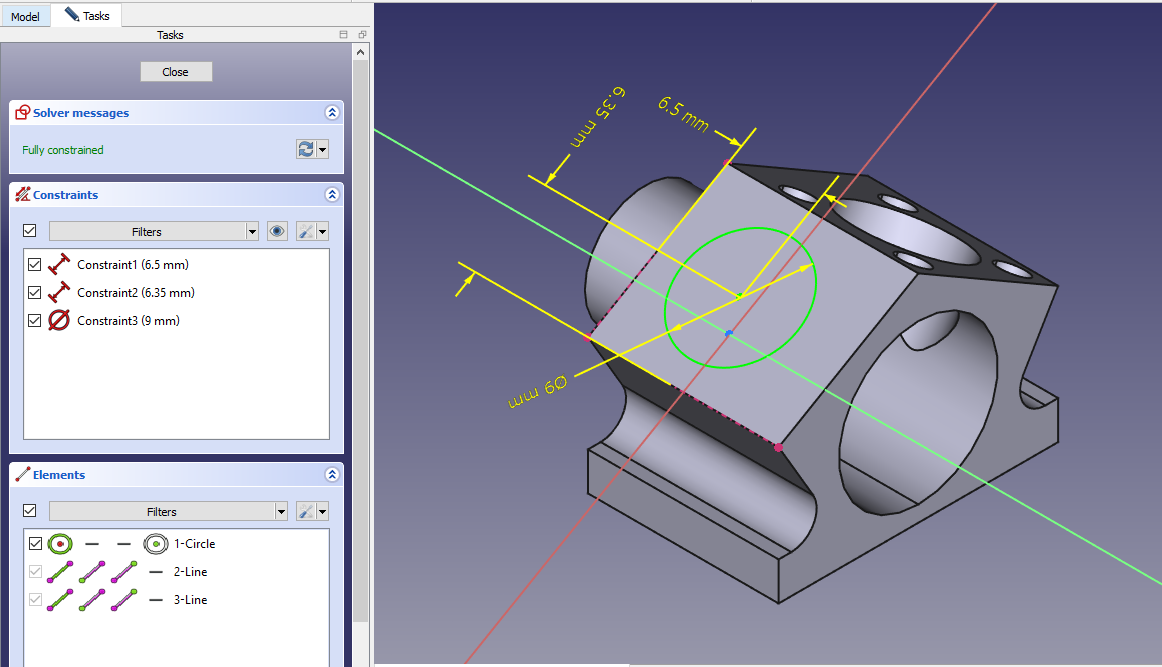 Create the hole cut with depth of 8mm as shown in below image.
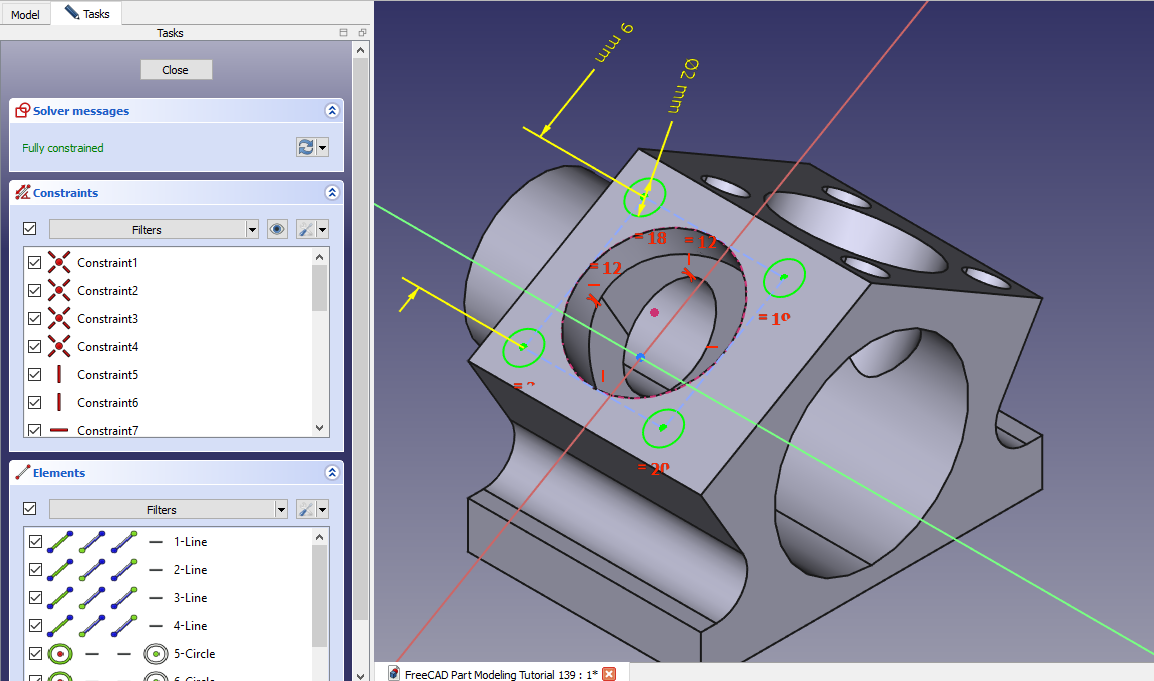
 Create the hole sketch as shown in below image.
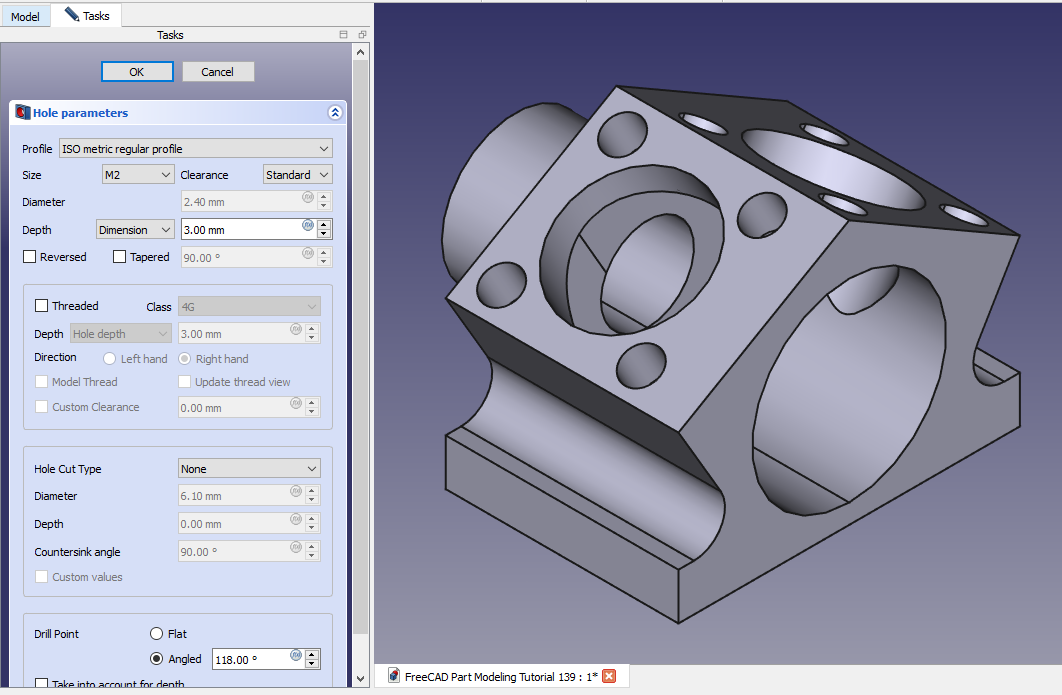
 Create the M2 hole as shown in below image.
 Select the bottom face and create the below hole sketch.
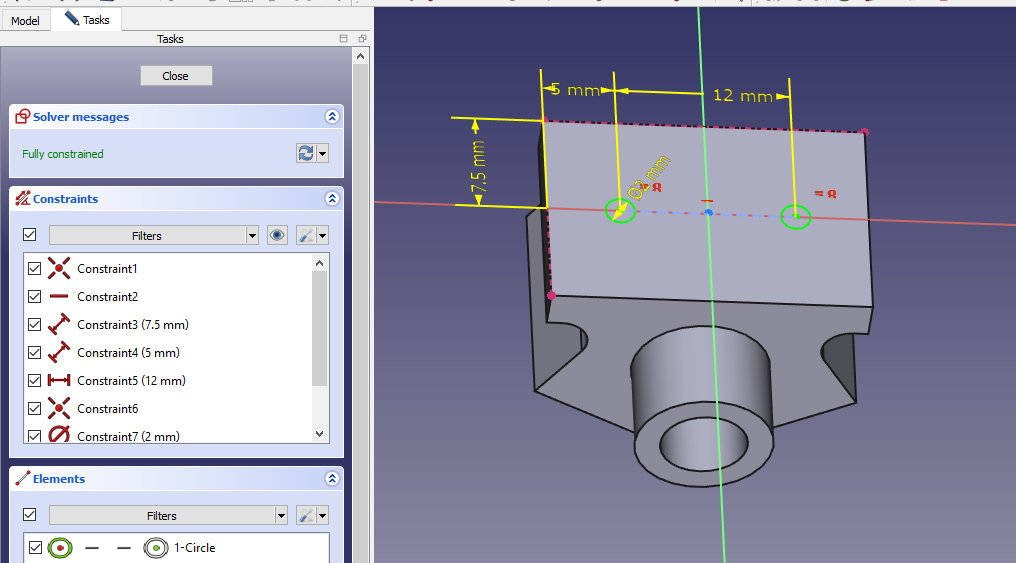 Create the hole sketch as shown in below image.
“Thank you for reading! If you found this article insightful and valuable, consider sharing it with your friends and followers on social media. Your share can help others discover this content too. Let’s spread knowledge together. Your support is greatly appreciated!”

 My FreeCAD Projects, Models & Drawings now on Payhip